
Clear written quote
Send photos, suburb, room size, and timing so we can guide your quote.
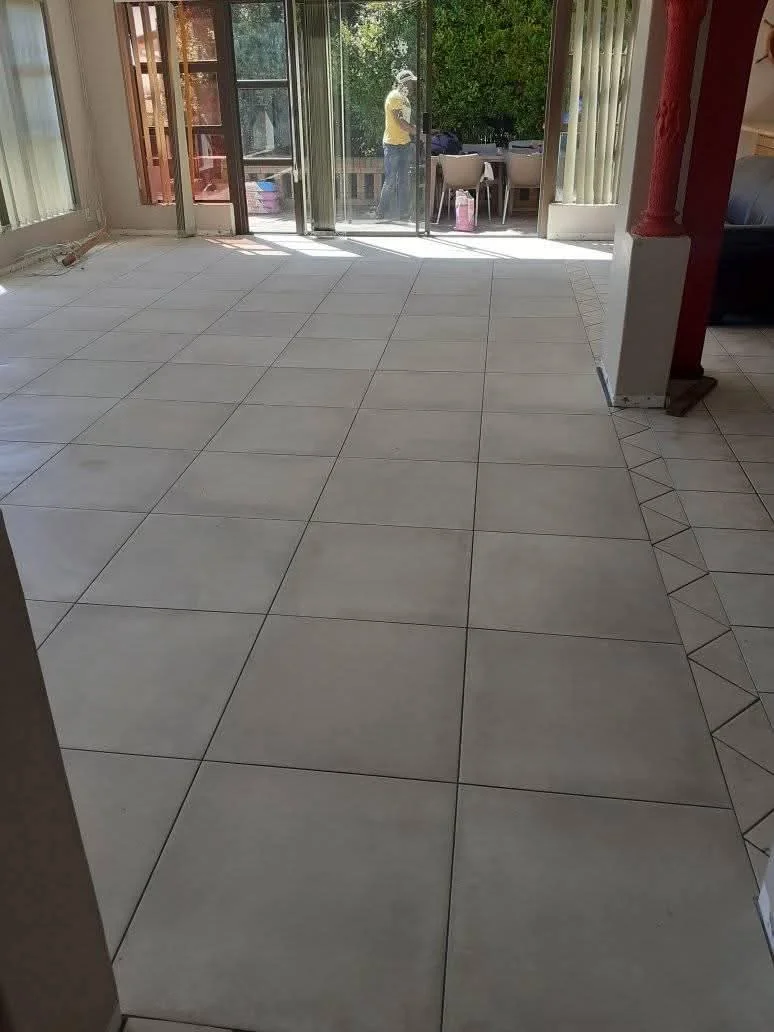
Floor service - Floor Tiling
Uneven floors and poor adhesive work lead to loose tiles. Our team installs floor tiles with correct prep and level control. Send your suburb, room type, photos, and rough timing so we can prepare the right quote.
Service Overview
See what matters before you request a quote, so you know what to send and what to expect.
Floor tiling for homes and businesses in Cape Town, with the base, level, transitions, and tile layout checked before installation. Your final quote depends on the surface condition, tile choice, room access, and finishing details.
We help Cape Town clients by suburb, project type, and job details. For broader floor work, the Cape Town page explains set-out, levelling, and quote details. tilers in Cape Town
Every project should start with surface checks, set-out planning, and a clear explanation of what is included.
You get a clearer quote before work begins, including what may affect preparation, timing, and finish.
Before We Quote
These are the details that help us quote properly and avoid surprises once work starts.
The base must be checked for level, movement, cracks, and hollow areas.
Large-format tiles can show lippage if the floor is not prepared properly.
Room transitions, doorways, and movement joints should be planned before fixing starts.
Project examples
View recent tiling work before you send your enquiry.
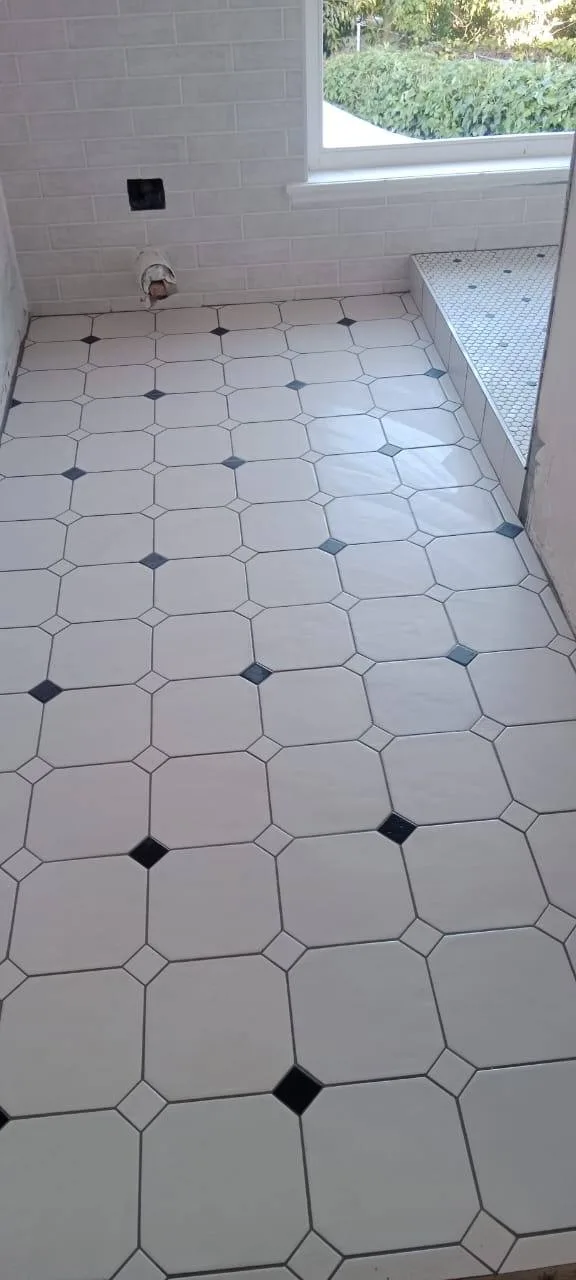
Floor Tiling - Cape Town
Bathroom floor tiling completed with a patterned layout and clean grout lines across the room.
View Floor Tiling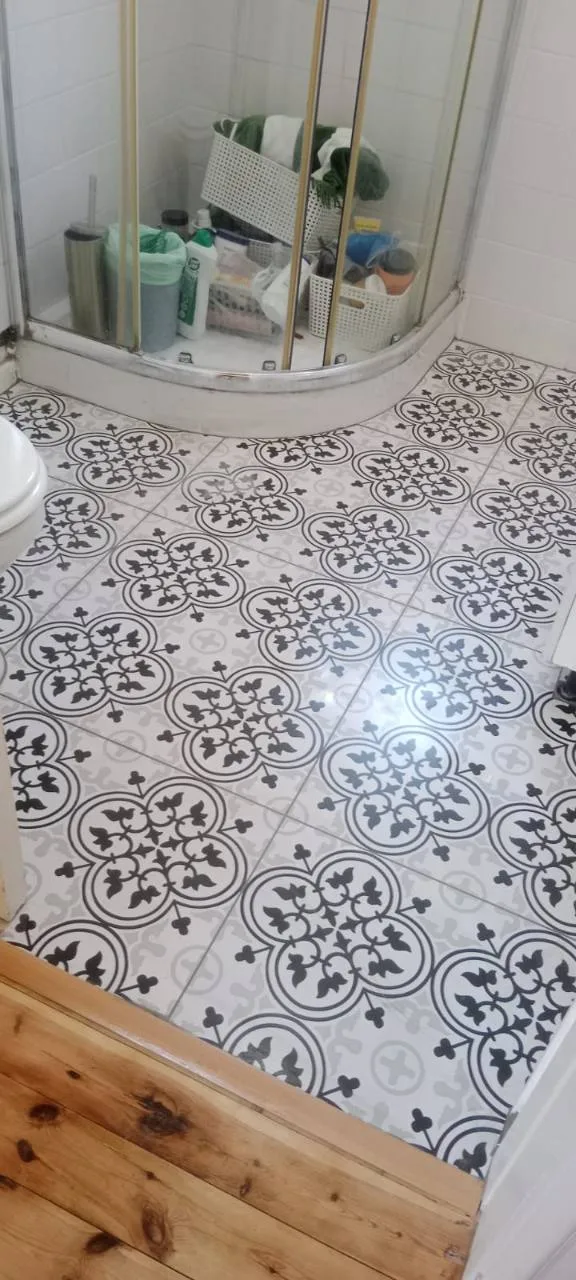
Bathroom Tiling - Cape Town
Patterned bathroom floor tiling installed around the shower area with clean set-out and tidy finishing.
View Bathroom Tiling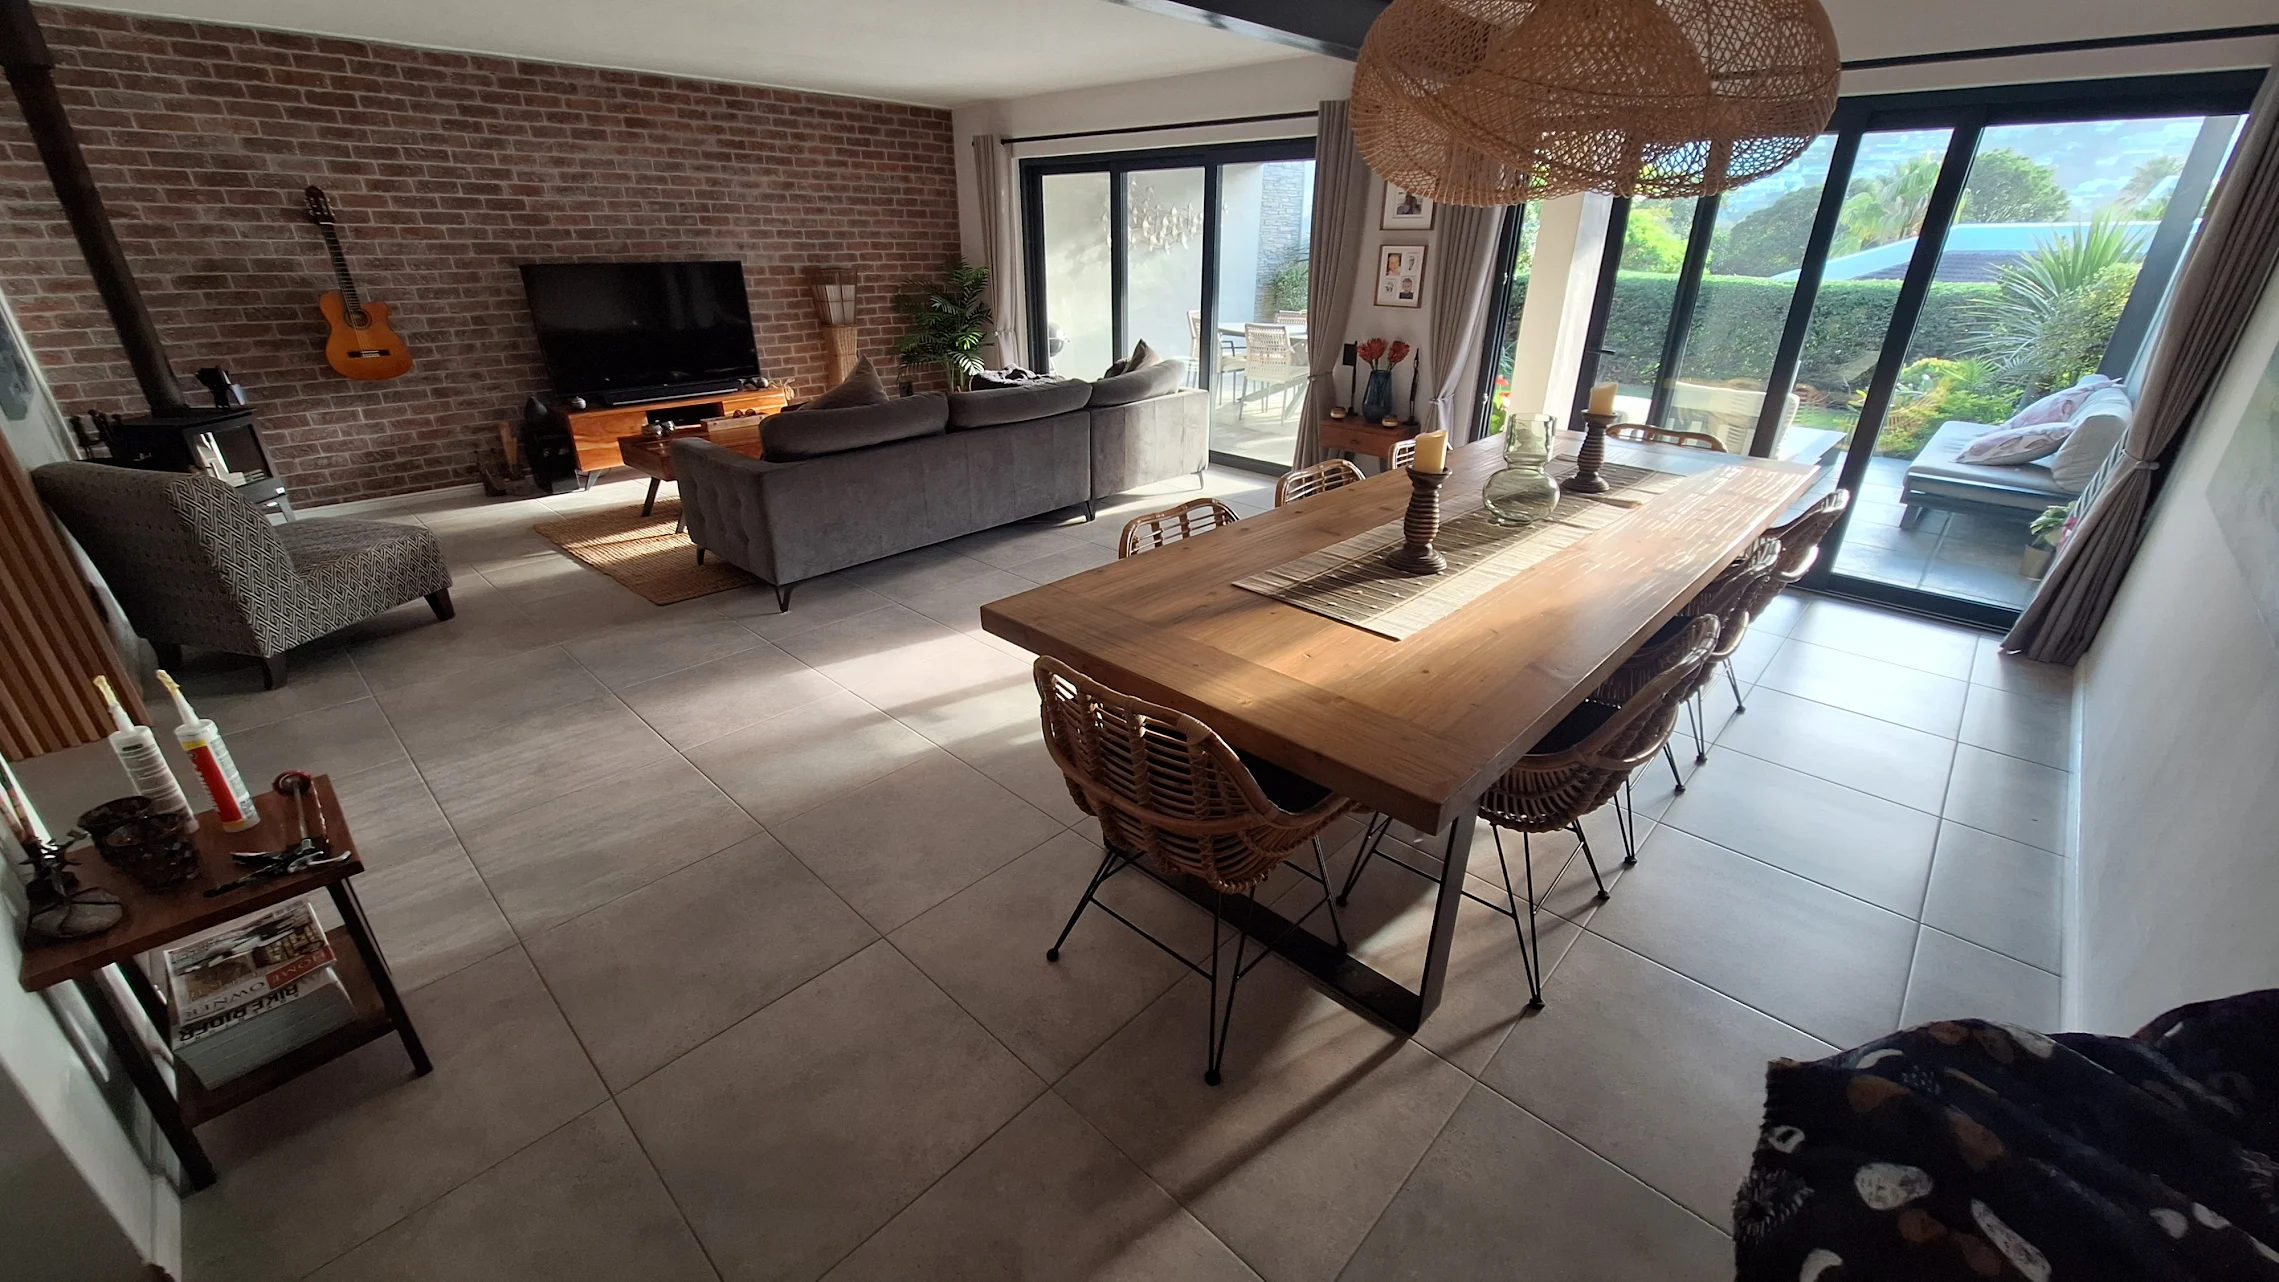
Floor Tiling - Cape Town
Open-plan living and dining area finished with large floor tiles, neat alignment, and clean transitions.
View Floor Tiling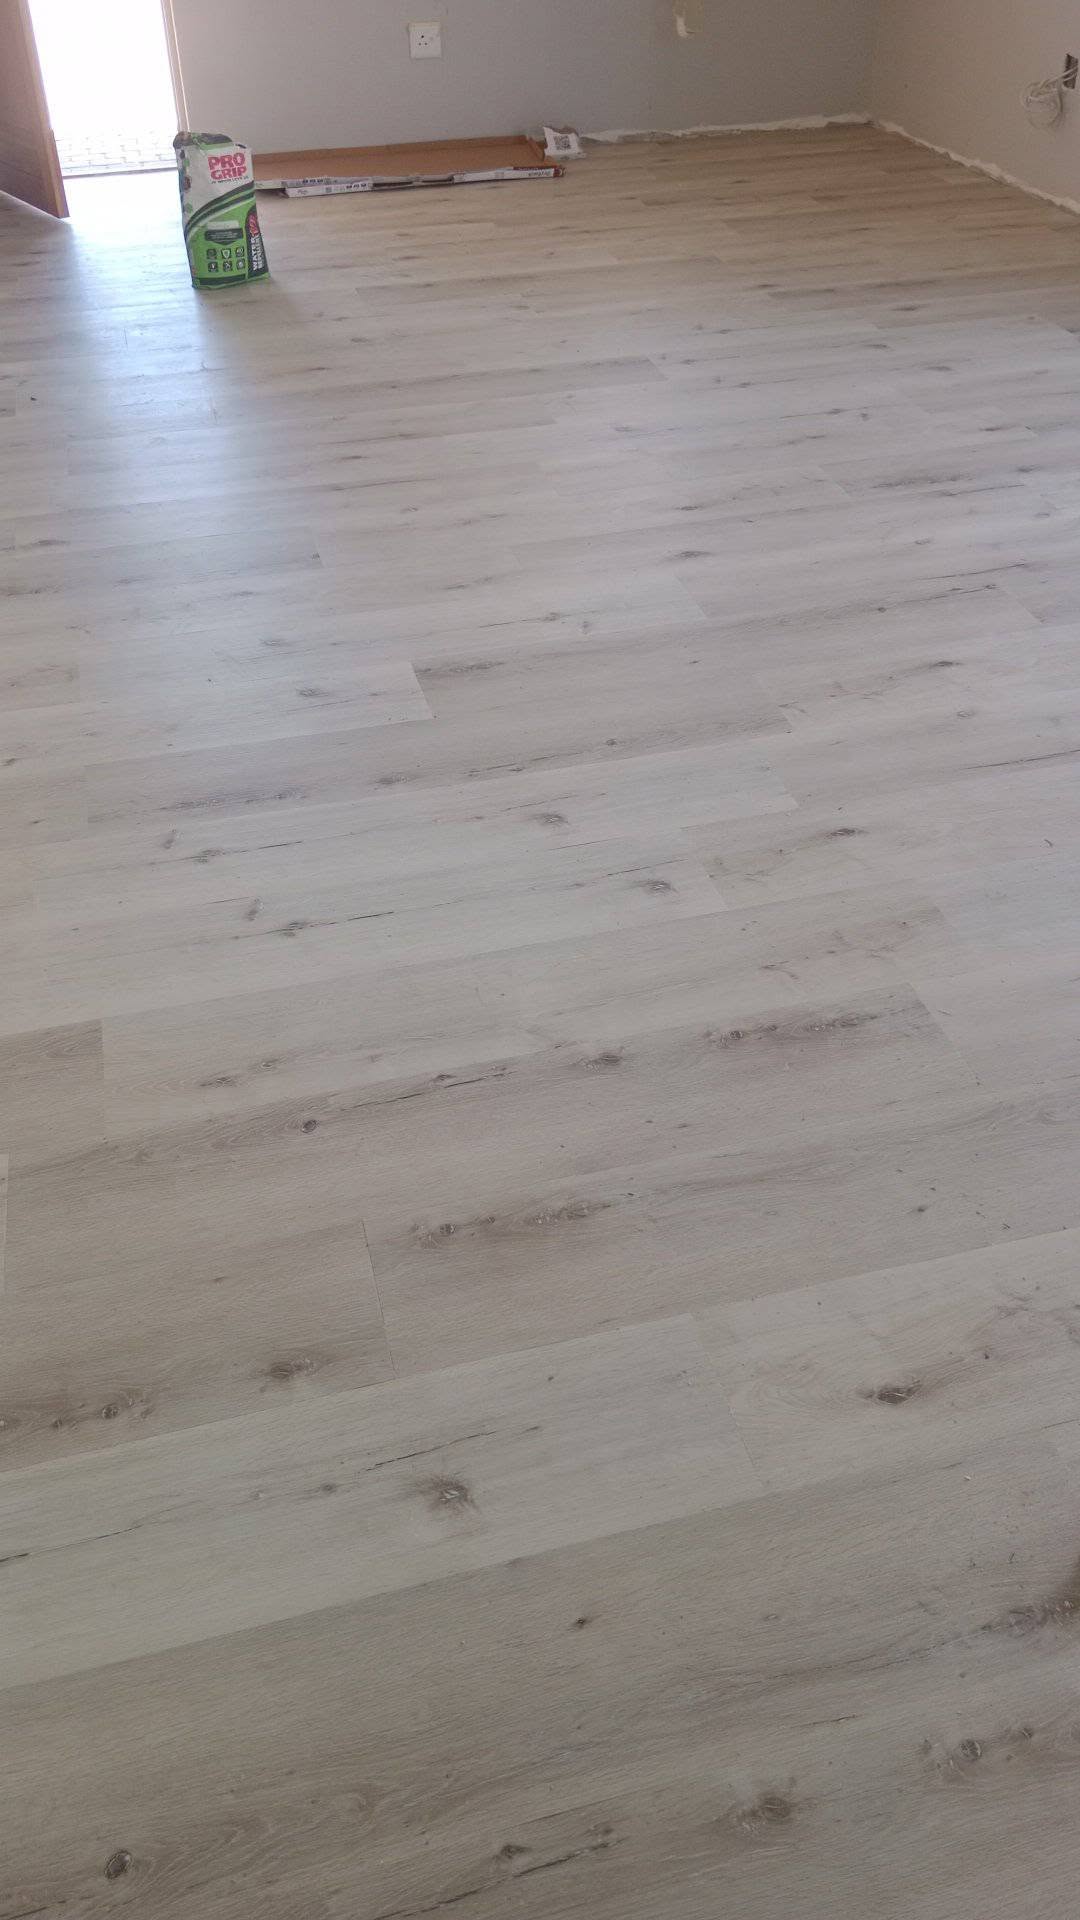
Floor Tiling - Cape Town
Light oak vinyl flooring installed across a room with clean plank alignment and a low-maintenance finish.
View Floor TilingBest For
If these points match your project, this is likely the right place to start.
Share your suburb, room type, tile choice, and photos so we can understand the job.
Benefits
The right tiling work should look neat, handle daily use, and be clear before work starts.
Our Process
The exact steps depend on the room and surface condition.
Step 1
Inspect slab condition and level tolerance.
Step 2
Prepare and prime base before tile setting.
Step 3
Install tiles with spacing and levelling systems.
Step 4
Grout, clean, and complete final walkthrough.
Faster Quote
A few photos and simple details help us understand the job faster.
Related Services
If your project includes more than one room or finish type, these pages can help you choose.
See what is included and whether this is the right service for your project.
View ServiceSee what is included and whether this is the right service for your project.
View ServiceSee what is included and whether this is the right service for your project.
View ServiceLocal Coverage
Use the coverage page for service-area guidance, or send your suburb with the quote request.
Common client questions answered before you request a quote.
Sometimes. We first test movement, adhesion, and level to decide if overlay is safe.
Large-format porcelain tiles are common for open areas because they reduce grout joints and create a cleaner look.
Yes. We install skirtings, transition profiles, and edge trims where needed.
Ready to Start
Share your suburb, property type, job details, timing, and photos if you have them.